
Week 2 - Cutting
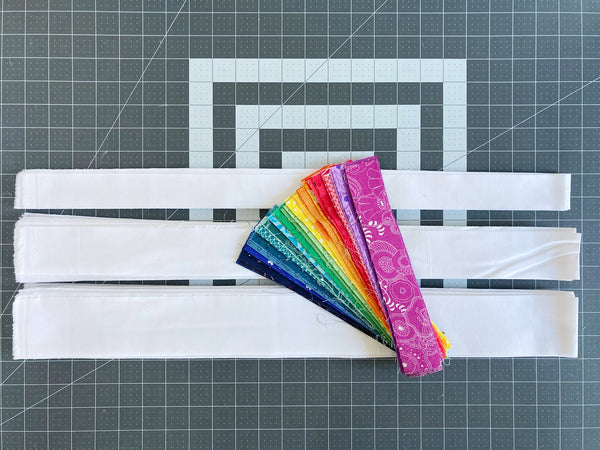
It's week 2 of the Bar Code Quilt Along and we're cutting strips this week. It's a fair bit of cutting, so I'd suggest breaking it up into a couple of sessions to save your wrists and fingers.
Accurate cutting is important because we're dealing with long skinny strips in this quilt, so here are a few tips to make it easier.

Accurate cutting 101
- Press your fabric before cutting, even if you didn't prewash it.
Wrinkles from being folded, or rolled on the bolt, can really mess up your accuracy.
- Use the ruler to measure the width of your strips, not your mat.
I don't know what your cutting preference is, usually, but some people use the measurements on the ruler to line up the fabric and cut, and others use the measurements on the mat. In this case, use the ruler because it will be more accurate. If you have a Creative Grids Stripology or other slotted ruler, I definitely recommend using that.
- Shorter strips warp less.
You may have wondered why I say in the pattern to cut most of the WOF (width of fabric) strips in half, so they're 21" long. The reason is that they will be less likely to warp when we go to sew the strips together. Because 42" is very long for a skinny strip, cutting them in half will add an extra step, but it'll make your life a lot easier when it comes to sewing and squaring up the strip sets.
You can, however, leave them the full length if you prefer. Just keep in mind that it may require some additional squaring up when we get to week 5.
- Get comfy
I personally also like to have a couple of gummy bears (no mess!) and a cup of tea handy, and possibly a podcast on the phone if the cutting doesn't require too much thinking.

A quick way to cut strips in half
Since we don't need the full 21" to make the blocks, you can be generous when cutting them in half, too. I like to put a few of the strips on my mat with their folds lined up and then cut across them all, cutting the fold off to cut them in half. Depending on how the fabric was folded on the bolt, you may have one slightly longer and one slightly shorter strip now, but that doesn't matter so much for these.
Note: don't do this with the 1.5" strips of background fabric.
If you're using the scrappy version and doing 9" strips, there is unfortunately a bit of extra cutting involved. There's a little sewing hack, though, to save yourself some of the cutting and leave your background strips long (21") like I did. I'll show you how it's done next week when we start sewing strip sets, so if you think you may want to try that, leave your background strips 21" long for now.
Cutting the sashing strips
These are the 1.5" wide strips of background fabric. The tricky bit here is that these sashing strips require the full width of fabric, so 42". If your background fabric has less usable width, you'll need some extra here.
This is how I cut mine to make sure it works out. I line the still folded strips up on the cutting mat to make sure that they're at least 21" between the edge of the selvedge (the holes, or where the print ends) and the fold. If the fabric wasn't folded exactly in the middle, iron it and refold it so that both halves are the same length.
Make sure the selvedges are completely to the left of the zero mark, and the fold is to the right of the 21" mark.

Cut at the 0 mark, the 10.5" mark and the 21" mark on the mat, remove the extra bits, and you have 4 strips cut ready to go. That's enough for two blocks.

If you have a background fabric that isn't quite 42" wide, you can cut 3 sashing strips from one strip. In this case, unfold the strip and cut the sashing strips one by one.
You will need a bit of extra fabric (9" x WOF for a throw size quilt) to cut the remaining sashing strips.
Hi Kim,
you should cut the 1.5" strips for the bars (your main colours) in 21" strips, along with the 2" and the 2.5" strips of background fabrics.
Hold onto the 1.5" background strips for now and don’t cut those until week 5. I’m going to edit the blog post to clarify this.
Hi, just confirming I do not cut any of the 1 1/2 inch strips ( main colors and background) into 21 inch strips until we use them in piecing together?
Thank you.