Just like any craft, there are techniques and terms that are commonly used, but that may sound like a different language to anyone new to it.
I've explained many common quilting acronyms in this blog post, so here is a list of many common quilting terms and what they mean (with a wee bit of overlap).
A beginner's guide to quilting terms and other confusing stuff you'll find in patterns:
-
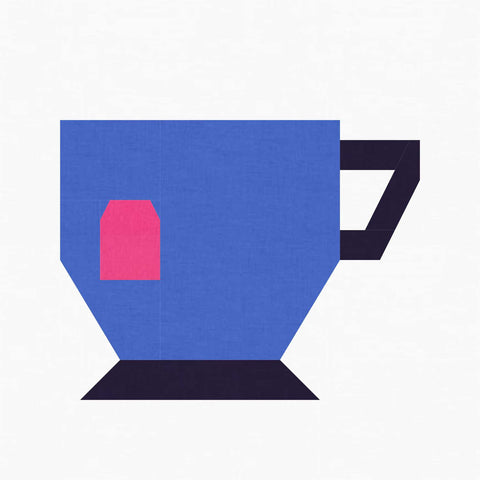
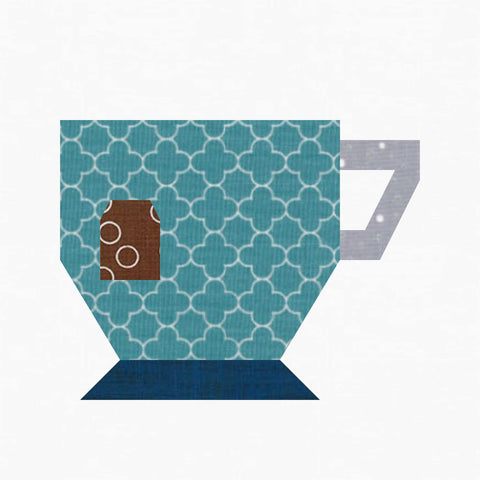
Appliqué:
- The process of sewing fabric shapes onto a background fabric to create a decorative design.
-
Backstitch
- Stitching backwards for 2-3 stitches at the beginning and/or end of a seam, to prevent the seam from coming undone.
-
Basting:
- Temporary stitching used to hold the layers of a quilt together before final quilting.
-
Batting:
- The layer of material between the quilt top and backing that provides warmth and thickness.
-
Bias:
- The diagonal direction of fabric, often used for binding due to its stretch.
-
Binding:
- The fabric strip used to finish and encase the edges of a quilt. For a tutorial on how to attach binding by machine, click here.
-
Chain Piecing: (link to chain & web piecing tutorial)
- Sewing multiple pieces of fabric together in a continuous chain without cutting the thread in between. For a tutorial on this, click here.
-
Echo Quilting:
- Quilting lines that follow the outline of a shape, running parallel to the seams.
-
Edgestitch
- Stitching along the edges of a piece of fabric, usually with a smaller seam allowance such as a 1/8”. Can be decorative or functional.
-
Fat Eighth:
- One-eighth of a yard of fabric, typically measuring 9x22 inches. This is created by cutting a quarter yard of fabric in half across the width.
-
Fat Quarter:
- A quarter-yard of fabric, cut into a rectangle that measures approximately 18x22 inches. This is half a yard of fabric that is cut across the width, as opposed to the "regular" quarter yard of fabric, which is also referred to as a "skinny quarter" and measures 9" x 42"
-
Fussy Cutting:
- Carefully cutting fabric to showcase a specific design or motif.
-
Free-motion quilting:
- A technique where the quilter moves the fabric freely under the sewing machine needle to create the quilting design.
-
Grain:
- The direction of the threads in a fabric, either lengthwise (parallel to the selvedge) or crosswise (perpendicular to the selvedge).
-
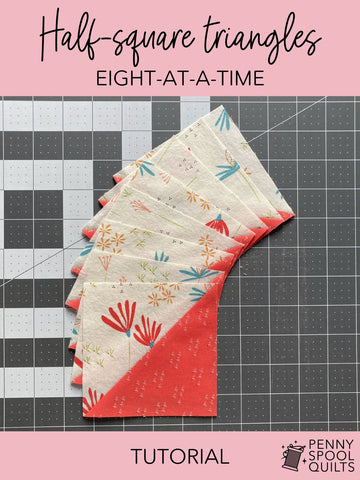
HST = Half-square triangle:
- Squares that are made up of two triangles that are each exactly one half of the square. To make HSTs, see the tutorials here.
-
Mitered Corners / Mitered Binding:
- A technique used to create neat and tidy corners when binding a quilt by folding the binding strip under itself to create a 45 degree angle.
- A technique for joining borders at the corners of a quilt, at a 45 degree angle.
-
Nesting Seams:
- A way to ensure that seams don’t get too bulky. For this technique, the seam on one block is pressed in one direction, while the seam on the second block is pressed in the opposite direction. This allows the two seams to butt up against each other, rather than lay on top of each other, when the two blocks are joined together.
-
Pressing:
- Unlike with ironing, where the iron is moved around on the fabric, pressing involves only moving the iron up and down, without any sideways motion, to prevent the quilt blocks from stretching.
-
Quarter-Inch Seam Allowance:
- The standard seam allowance used in quilting.
-
QST = Quarter Square Triangles:
- A square made up of 4 equally sized triangles.
-
Quilt Sandwich:
- The layered structure of a quilt, consisting of the quilt top, batting, and backing.
-
Quilt Block:
- A unit of the quilt top, usually pieced together to create the overall design.
-
RST = Right Sides Together:
- The instruction to place two pieces of fabric with their right sides (the side that has the design, or the “good” side) together for sewing.
-
Sashing:
- Strips of fabric placed between blocks or rows to add space and create visual separation.
-
Scraps:
- Leftover bits of fabric from previous project. They can vary in size from tiny to almost fat quarter, depending on a quilter’s definition, and have a tendency to multiply in their bin when nobody is watching. Need help organizing your scraps? Click here.
-
Selvedge/Selvage:
- The finished edge of a fabric that runs parallel to the lengthwise grain. Selvedge is the British English spelling, Selvage is the US English spelling.
-
Stash:
- A quilter's collection of fabrics.
-
Stitch and Flip Technique:
- A technique where a smaller piece of fabric (usually a square) is placed on top of a larger piece and sewn across the diagonal of the smaller piece. The excess is cut off and the smaller piece flipped open to create a different coloured corner.
-
Stitch in the Ditch:
- Quilting along the seams or "ditches" between pieces of fabric to hide the quilting stitches.
-
Stippling:
- A free-motion quilting design consisting of meandering and overlapping curves.
-
Tack:
- To temporarily secure layers of fabric or quilt sandwich with a few stitches.
-
Topstitch:
- A row of stitches on the top or right side, as a decorative feature. Usually used when stitching the binding to the quilting by machine, or in applique.
-
Victory Lap:
- The technique of edgestitching around the entire finished quilt top to prevent seams coming undone during the quilting process. You will make your longarm quilter very happy if you do a victory lap before dropping a quilt top off to be longarmed.
-
Wadding:
- See Batting
-
Walking Foot Quilting:
- Creating the quilting design using a specialty walking foot that helps move the fabric from the top as well as the bottom. This prevents the layers of the quilt sandwich from shifting during the quilting process.
-
WOF = Width of Fabric:
- The width of the fabric as it comes off the bolt, measured from selvedge to selvedge.
-
Y-seam:
- A seam where three pieces of fabric meet, forming a Y shape. Often a dreaded technique that is not as difficult to master as it appears.
Did I miss anything? Let me know in the comments if there are any terms I should be adding.


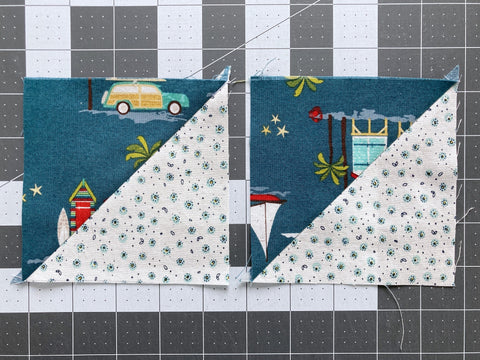


 3. Choose two strings that will cover your foundation diagonally.Place the first one right side up along the diagonal line.
 4. Place the second string right side down on top of the first string (so the two strings are right sides together).


